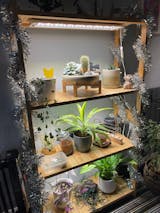
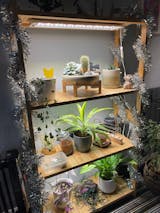
I have wanted one for ages and so glad I finally bought one. My plants are already happier. It is also a great feature and brightens up my dark living room. Its lovely to come downstairs in the morning when it’s dark outside and the living room is lit up like a little sun. Wakes you up and makes you feel happy!! (The tinsel on the photo was just for Christmas)
I would definitely recommend this light. I could tell from the weight of the light that it was good quality. I would buy it again.
Really easy to put together, I wanted something that looked nice in my apartment and where I didn't have to affix lights to a beam or similar. One thing I wish is that it was a bit taller so that I could get 30cm clearance to avoid burning my plants, but its lightweight and easy to place on some books or similar.
Fast delivery and easy to assemble. We put this in our bedroom and the plant is loving the light.
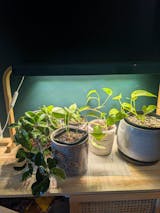
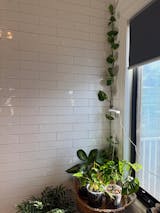
I have tried everything on my bathroom wall tiles to grow my little Golden Pothos upwards, nothing sticks literally! Until I found these little leaf shape miracles!! They have like a clear sticky backing which sticks perfectly to my tilled bathroom wall, easy to install like super easy, and my Golden Pothos is now thriving and striving upwards, I’m going to need more leaf shape clips the way it is now growing. The vision I had for my bathroom wall is now starting to become a reality!!!
Glad these have been such a great help, thanks for shopping with Gathera!
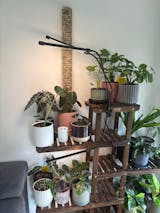
The different lighting options and timer are useful, however the arms don’t want to stay where moved if you change your mind about configuration after the first position. They become droopy and uncooperative.
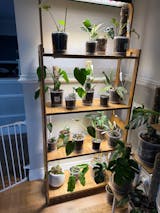
Omg I am so glad I bought this!! I have just purchased another as I can’t believe I have lived without this in my life!!! Solid as, easy to put together (for my husband as I would not attempt it), I would love you to make one for bigger plants too as my Albos are missing out!! Worth every penny 😍
Thank yo so much for the lovely review and we are so happy you are enjoying your growing with the Sun Shelf3 and that you have purchased another.. thank you! Did you know that you can remove or leift shelves to extend the height of the space to grow bigger plants?
Absolutely loving my sprouthouses, looking forward to a more sustainable way to grow my microgreens 🥰
Excellent and we hope you enjoy your waste free microgreening!
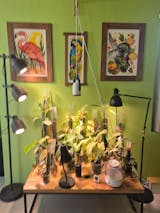
I liked my Sun Shelf mini so much that I bought a second shelf for another dark part of my house, and now have so many more options to arrange and style my growing houseplant collection. The built in LED for the plants on the lower shelf is excellent for small to medium sized plants. The bamboo fabrication is sturdy, minimalist and able to suit many aesthetic tastes. I love that you can customise the height of the upper shelf depending on your plants’ size. It integrates well with other grow lights. For example, I have affixed a sun bulb to the wall to provide light to my larger plants on one of my shelves, and have used vertical table lamp style grow lights on the top of my other shelf. Assembly is quick and straightforward, as is purchase and delivery process. Recommend!
Thank you so much for taking the time to review our products, We love it that you love it!


