


I brought two as I knew id love it. One for. Myself and one to put away as a gift.
I wanted to just grow cress, but I'll defo be doing much more.
Honestly sso impressed with the quality.

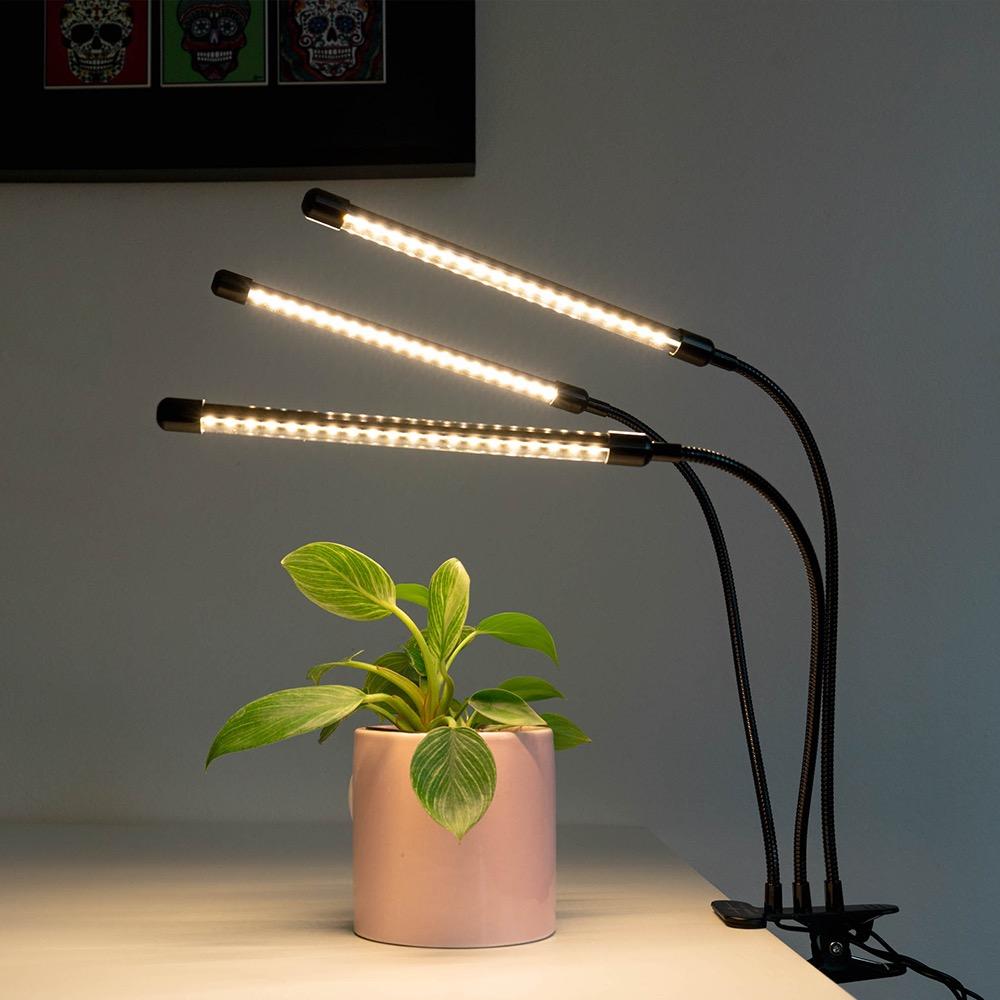
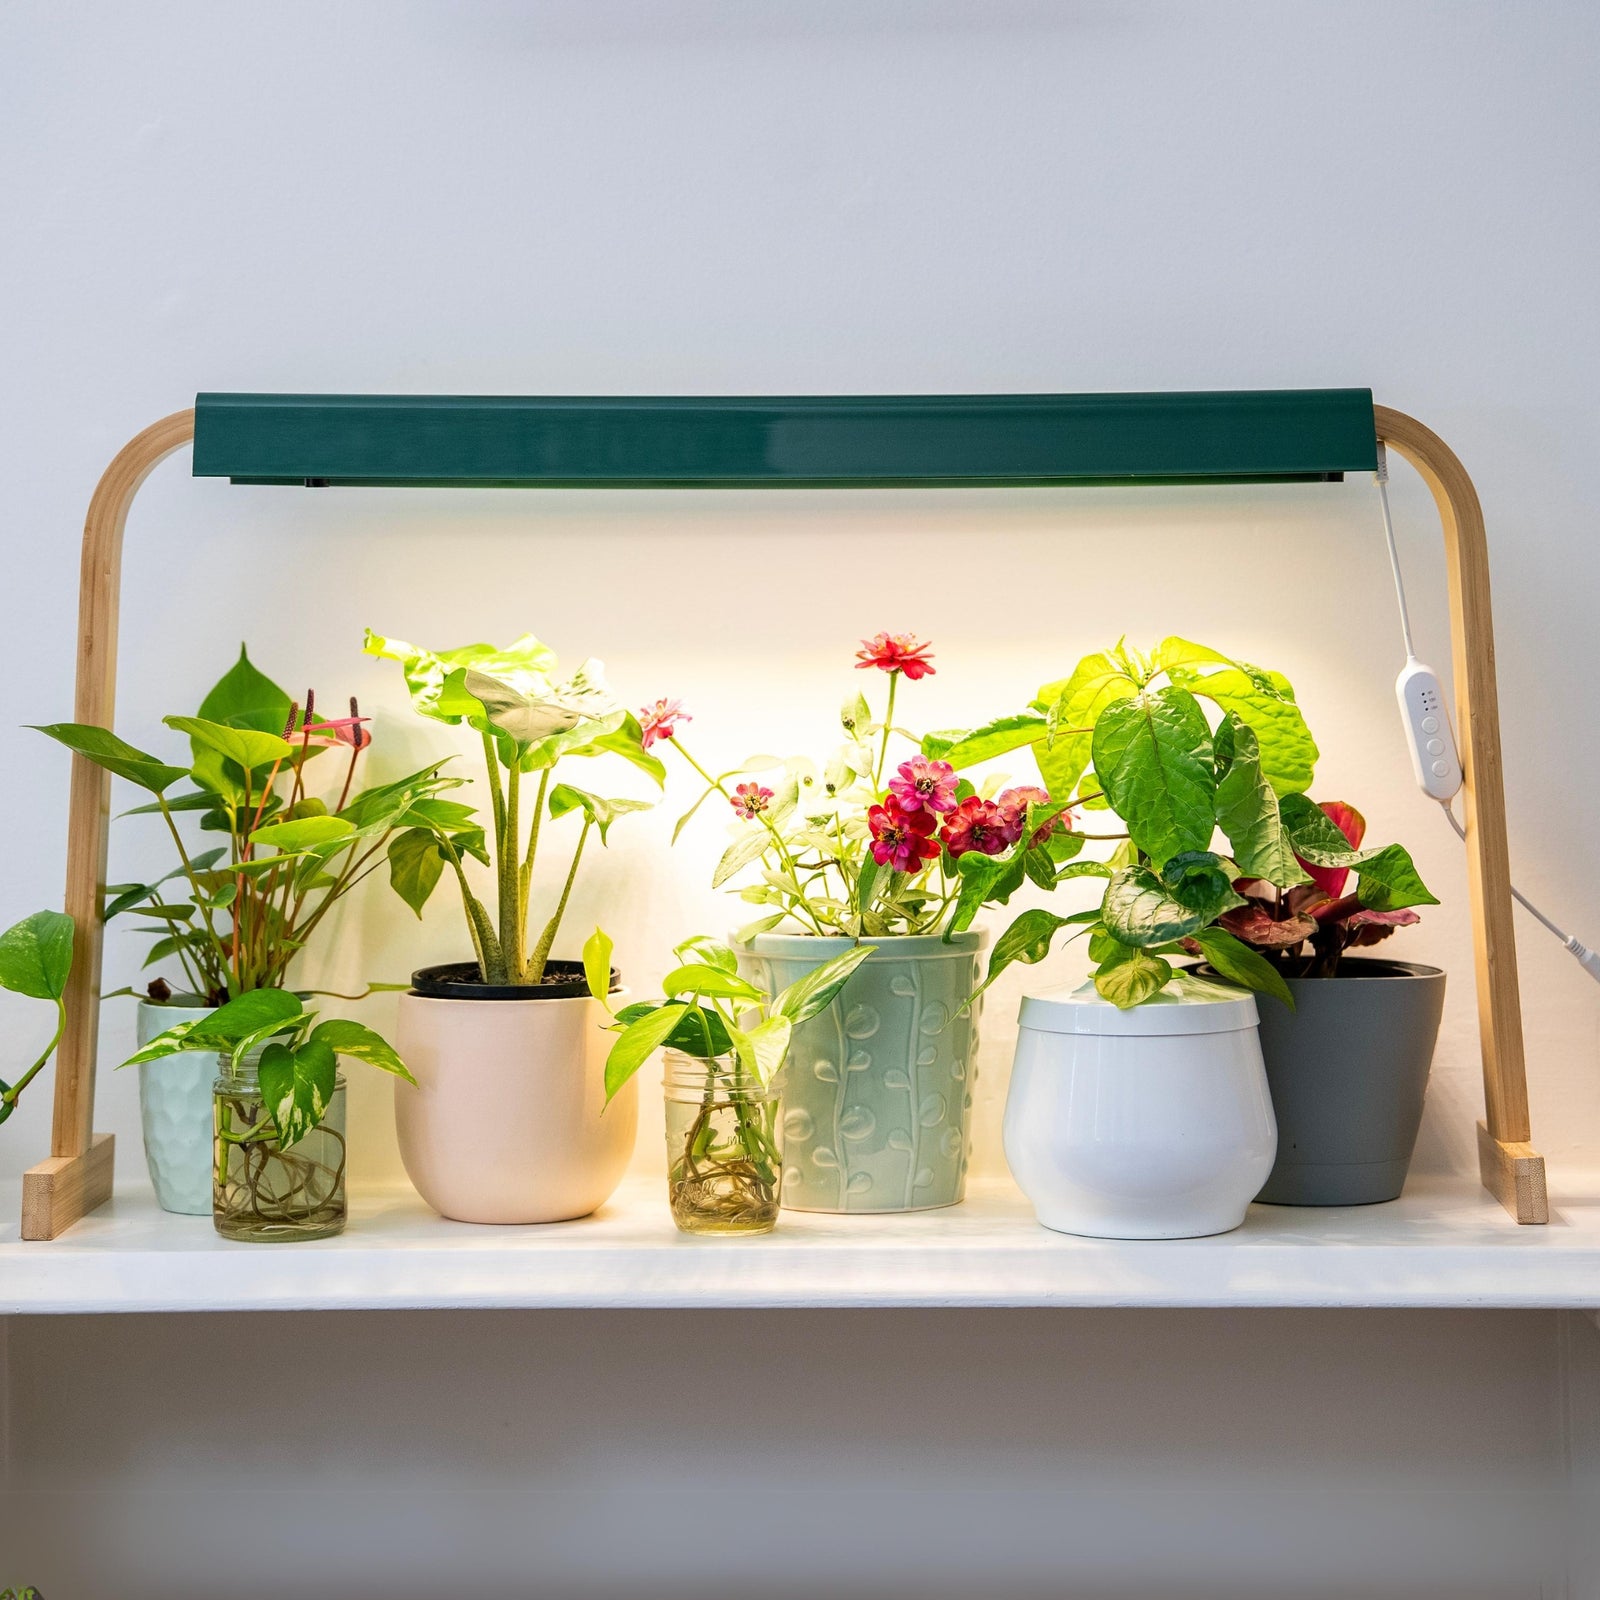
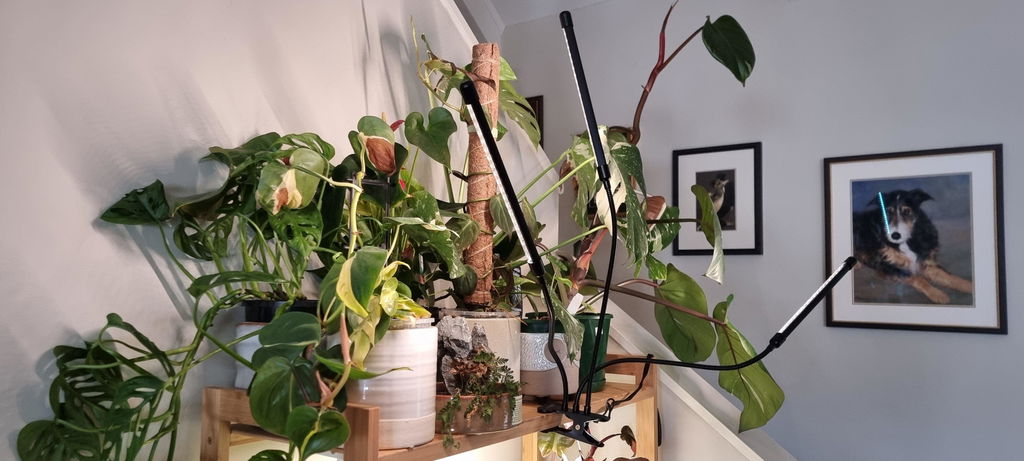
Easy to use and reposition the lights, and my plants are much happier too. Clips nicely on top of the sunshelf
Thank you for your review Emma, we are happy to hear that your love them.
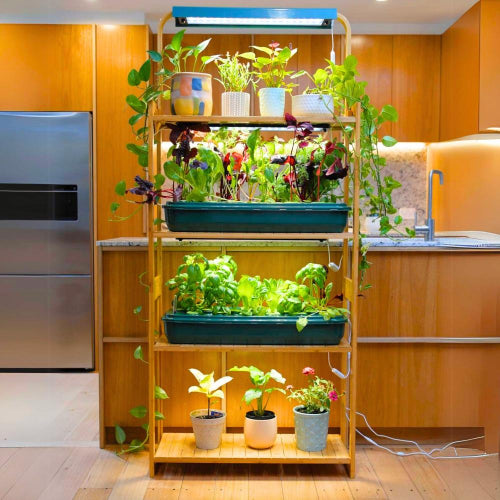
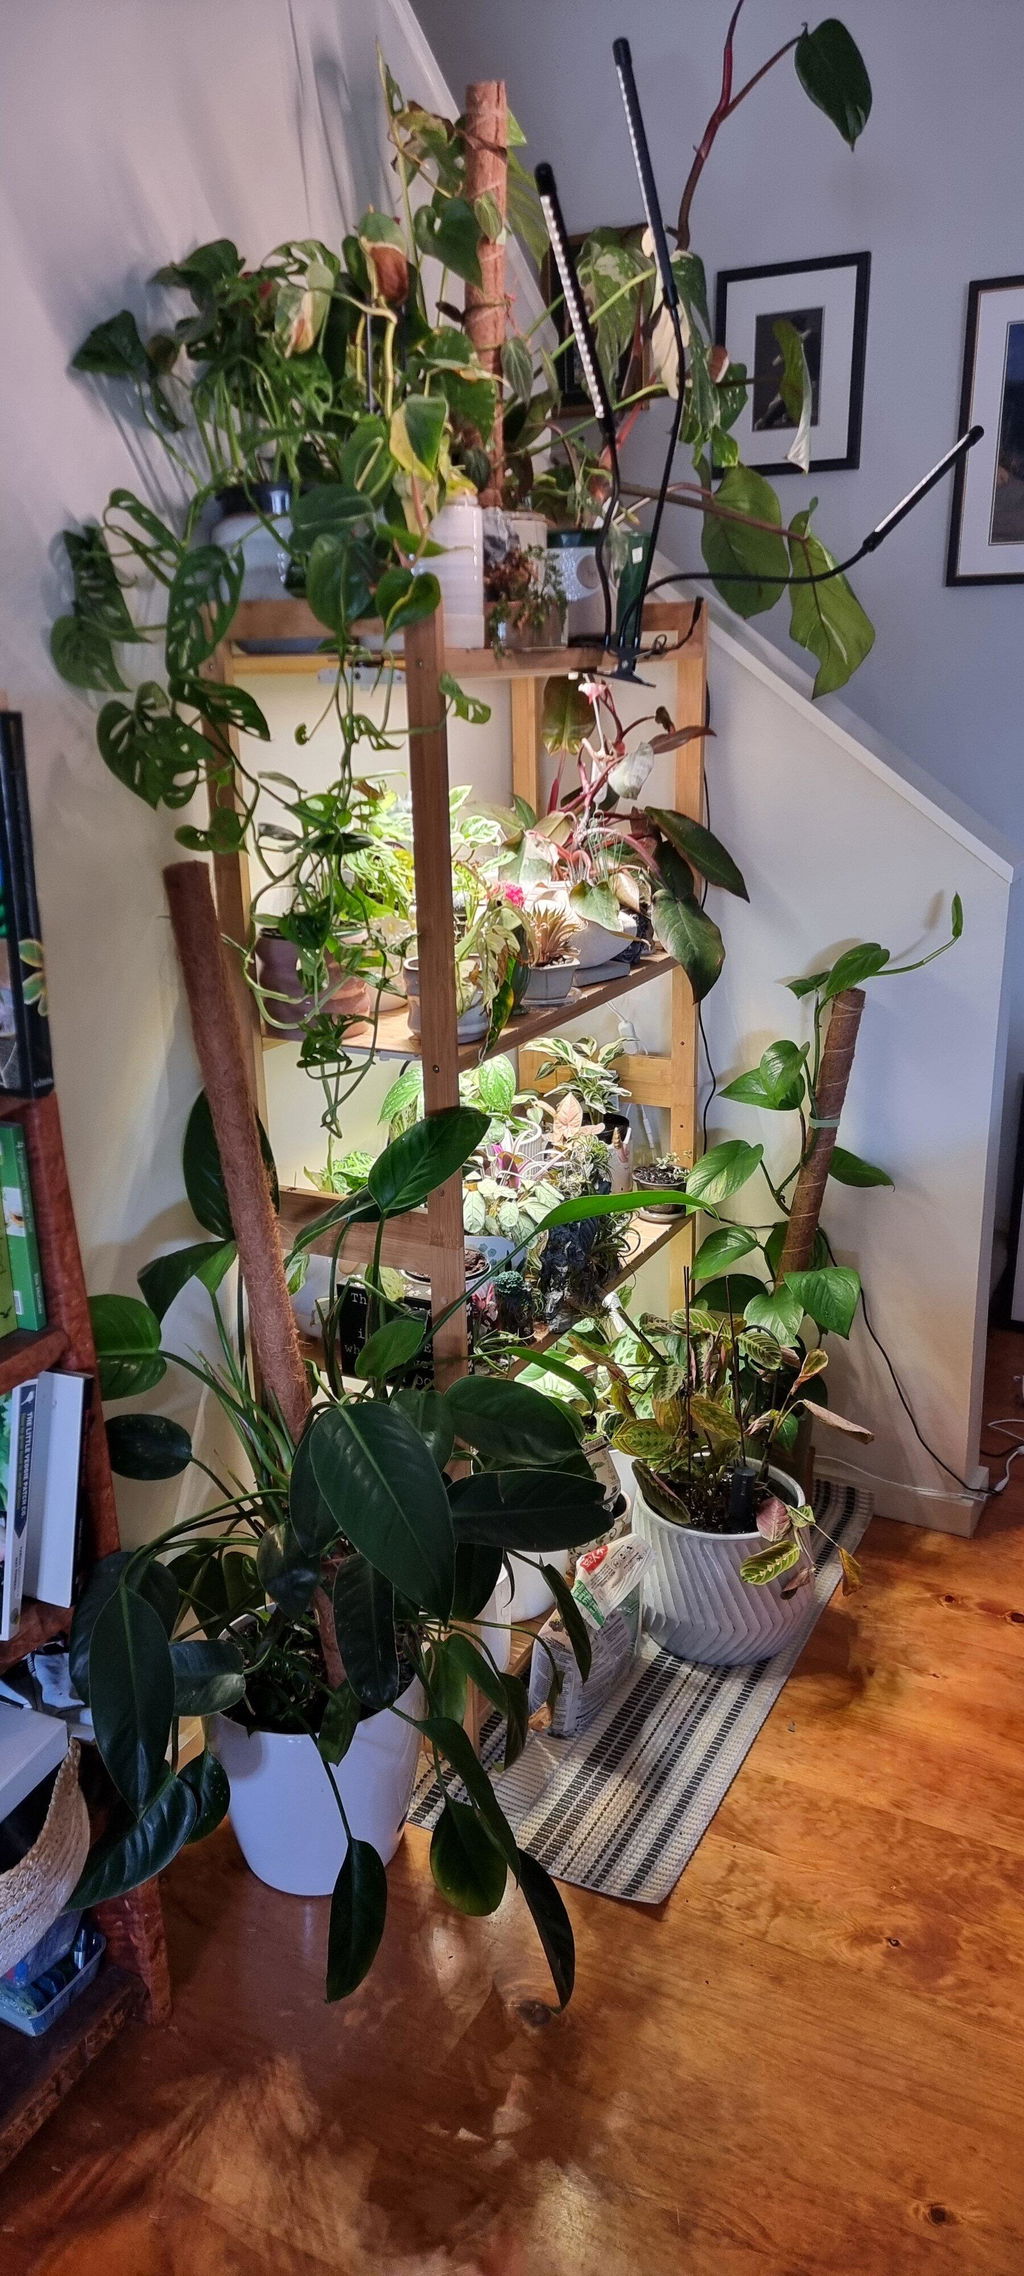
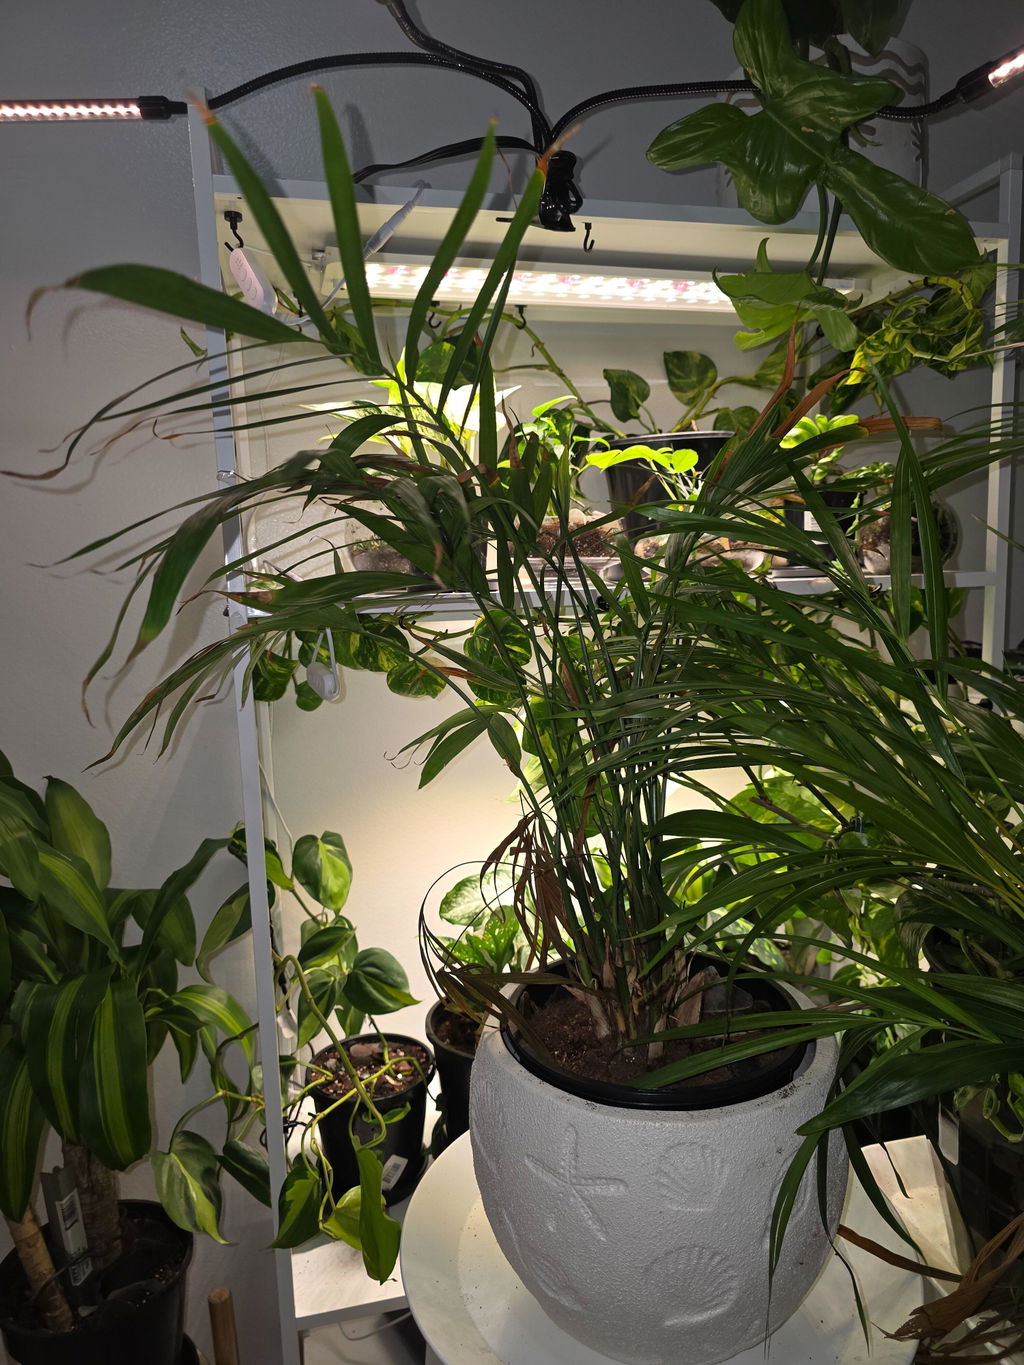
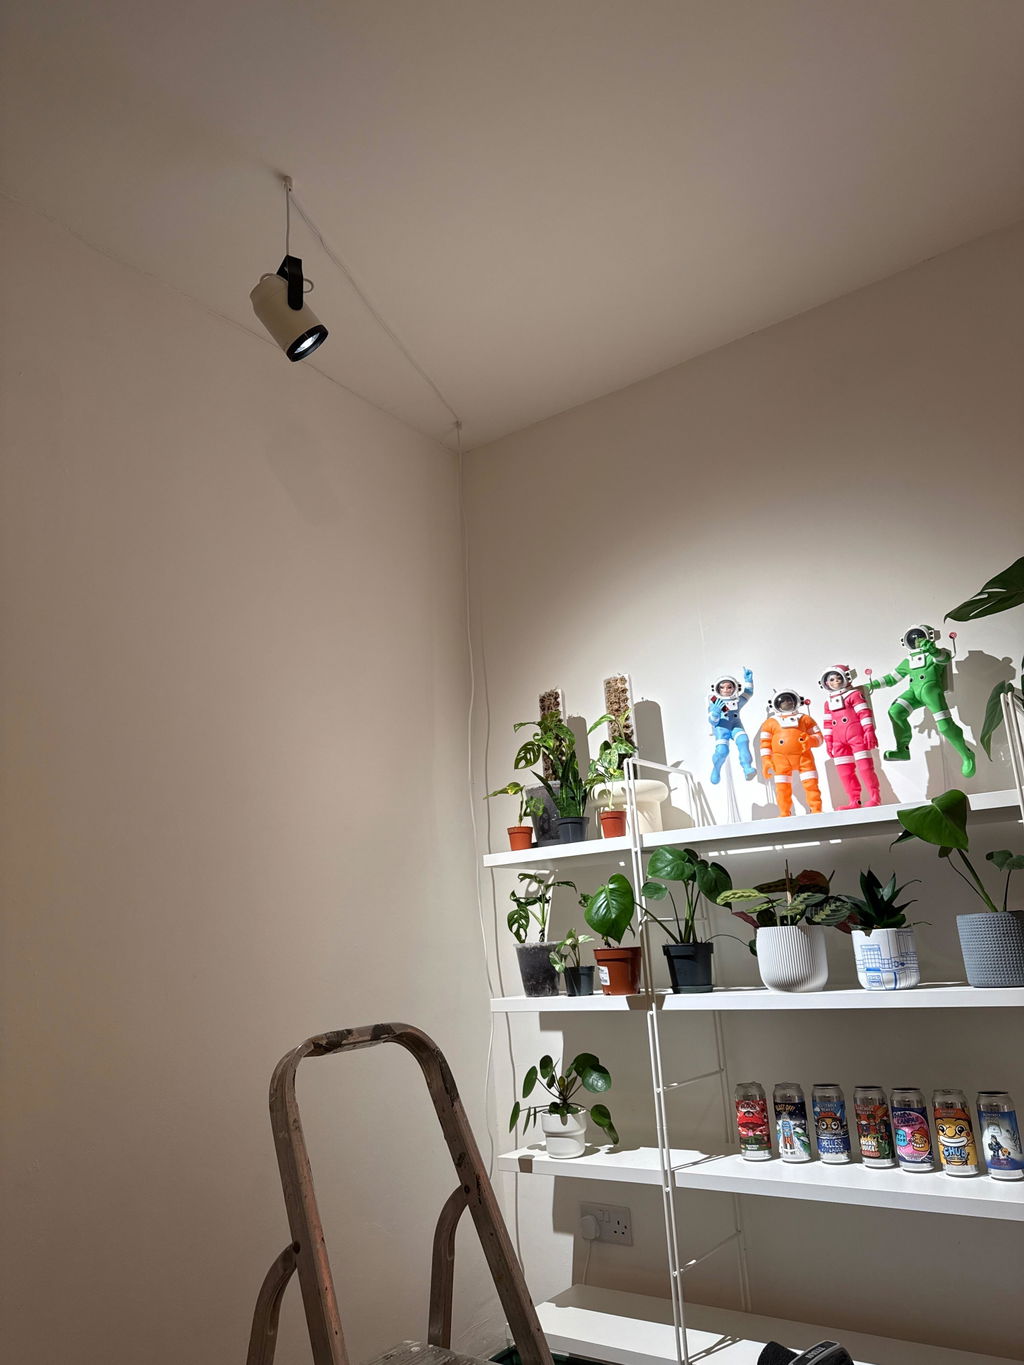
Really happy with how it looks and has helped declutter a lot of space near windows without having to worry about whether my plants are getting enough light. Very easy to assemble as well
Hi Emma Thanks for sharing your experience!
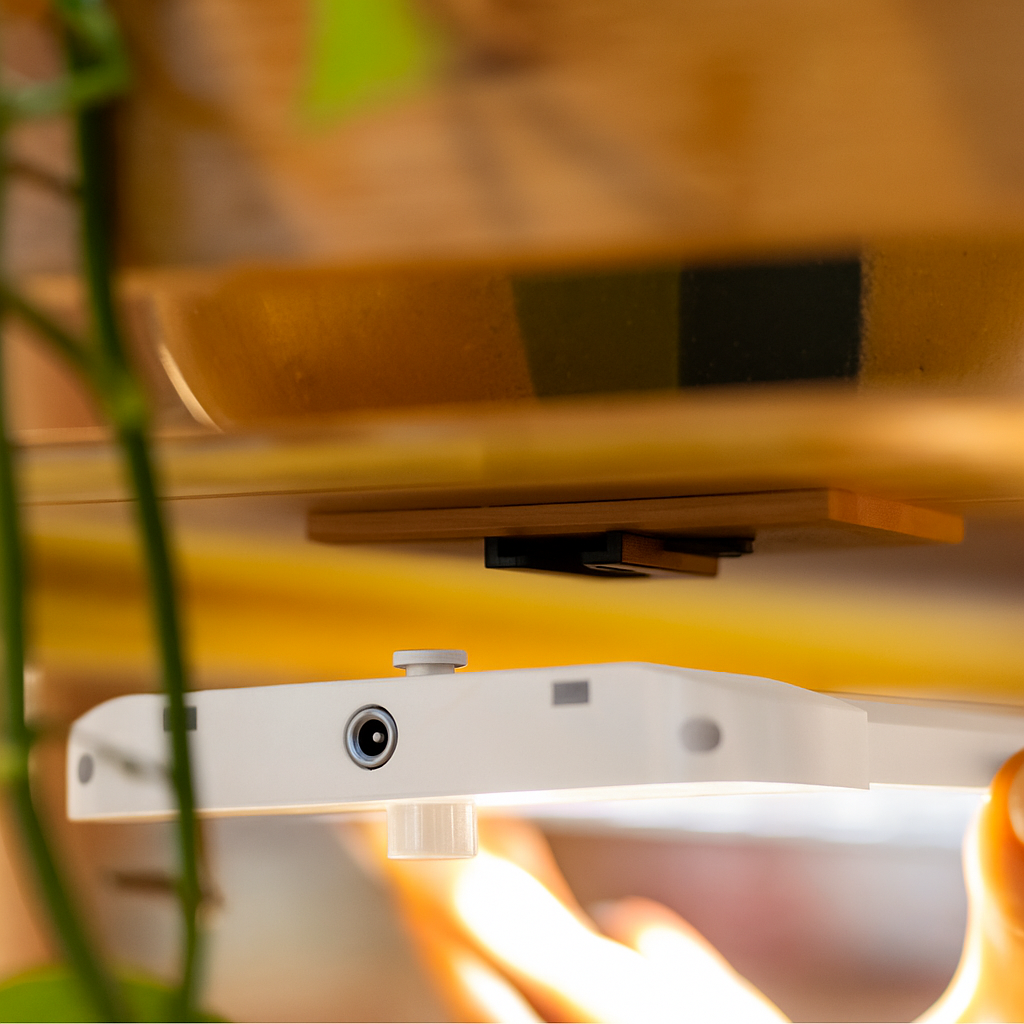
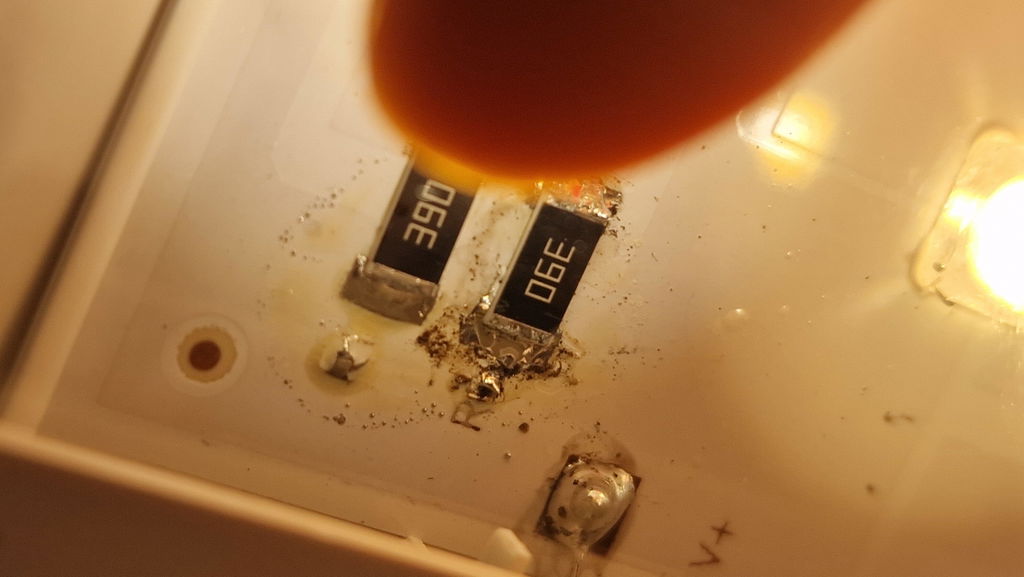
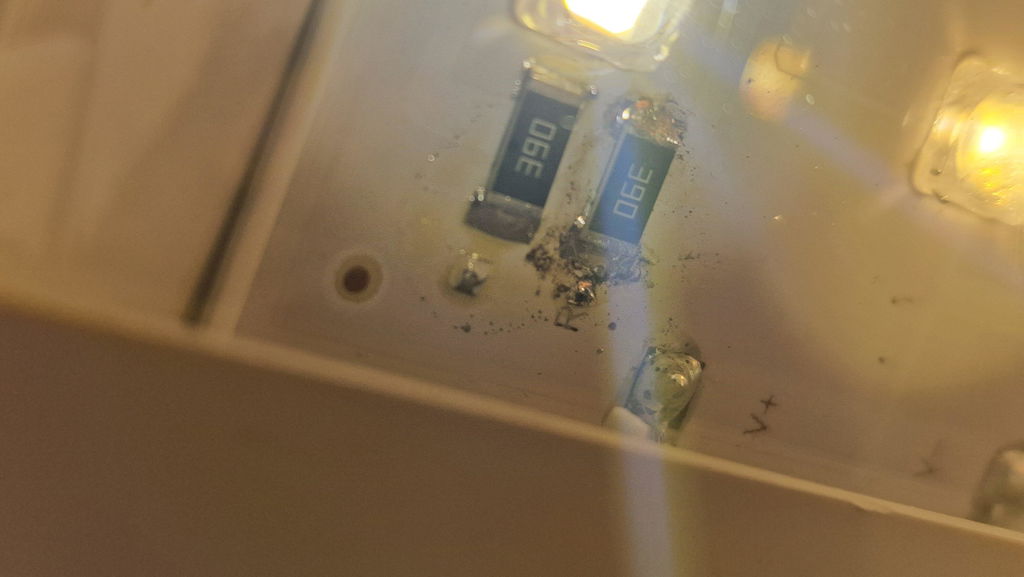
The capacitor on the light. Visibly has had an electrical fault and melted. I believe it's a faulty unit as my other lights are completely fine
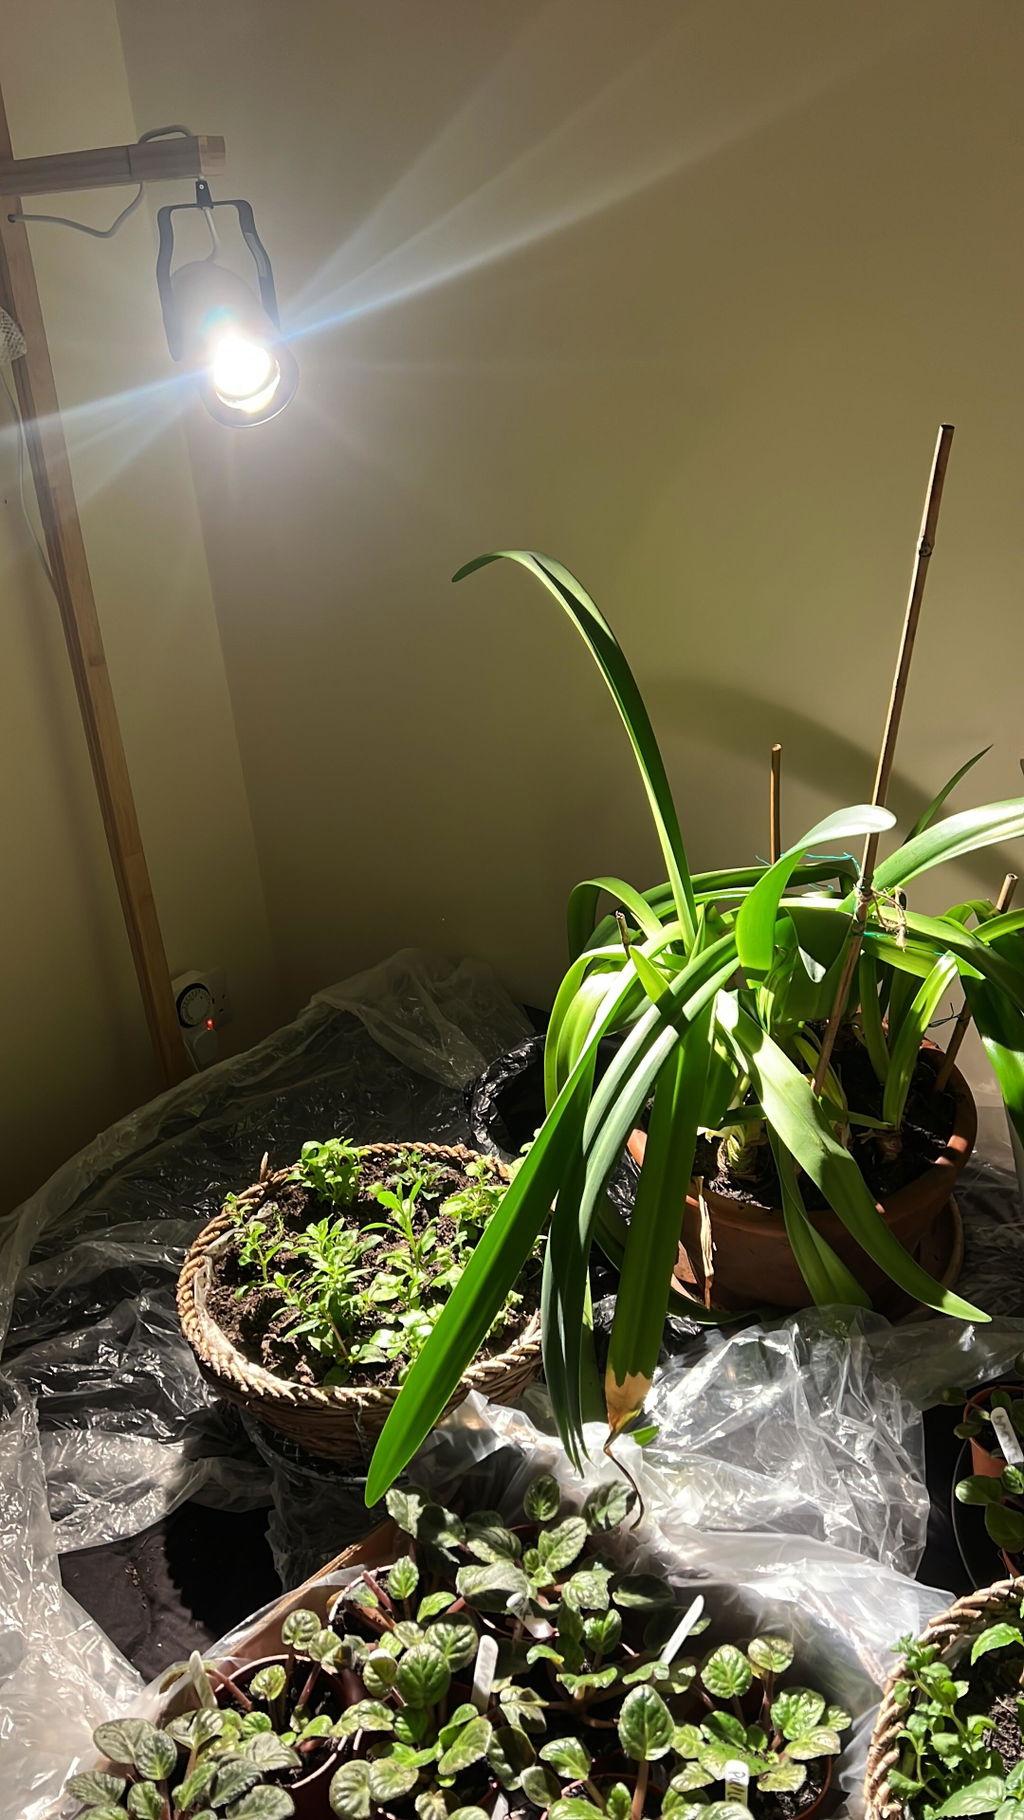
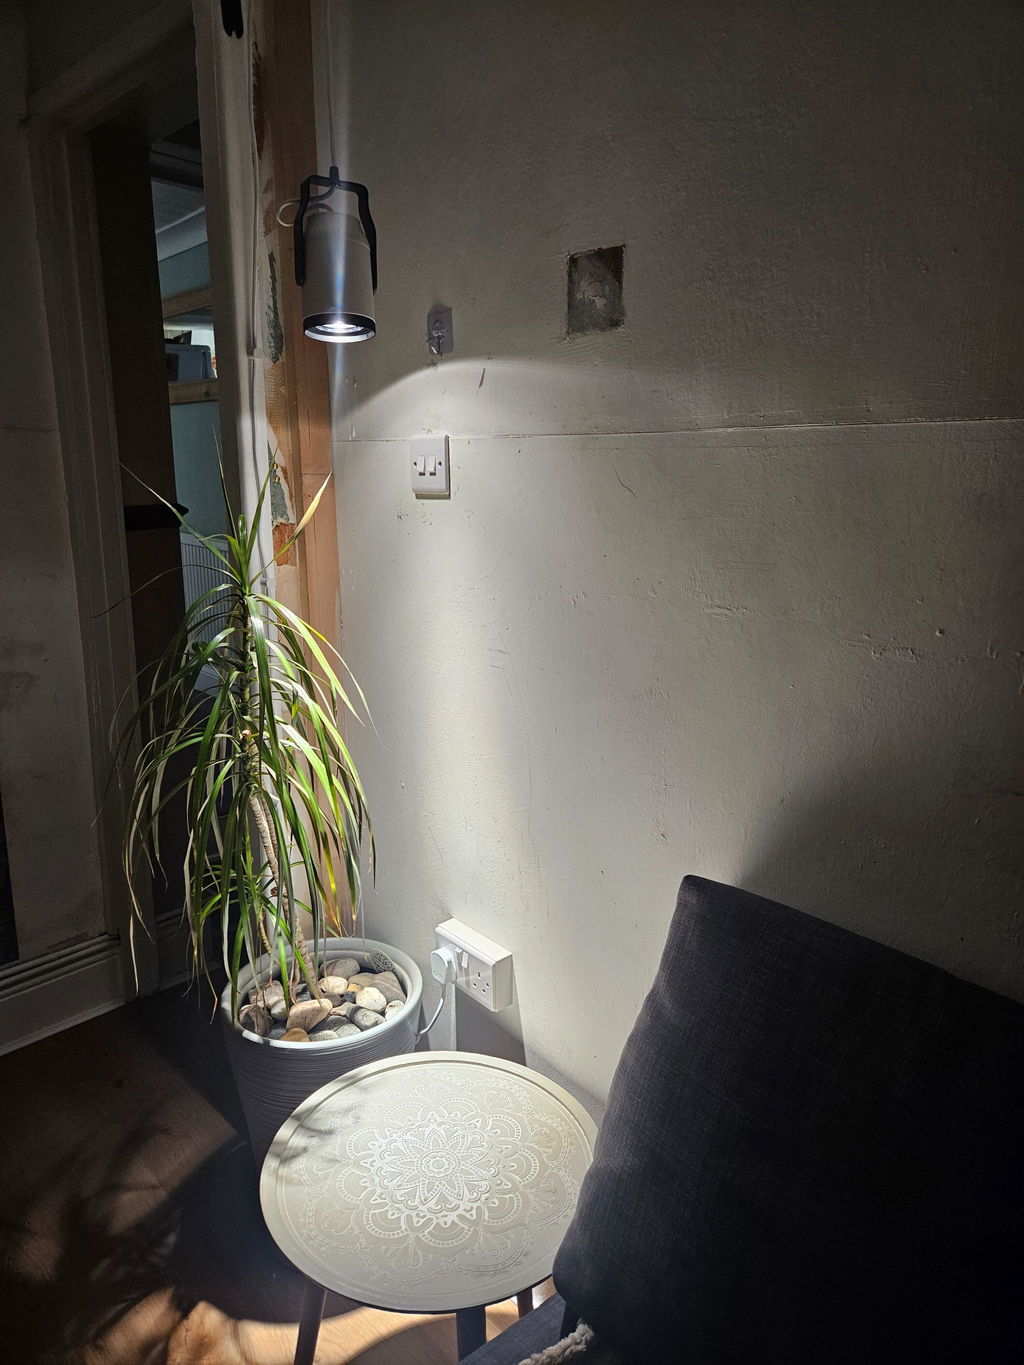
I can’t describe the light from my sunlamp, it’s in the spare room, which we call the resting room, for tired house plants. But then glow from the doorway always makes it look like the actual sun is teaming through the window. Even though the room gets barely any natural light. The plants love it too offcorse
Good product.
Thanks Mark for taking the time to review. Your plants took amaxing with the lights. Amazing! a Five start would be great !
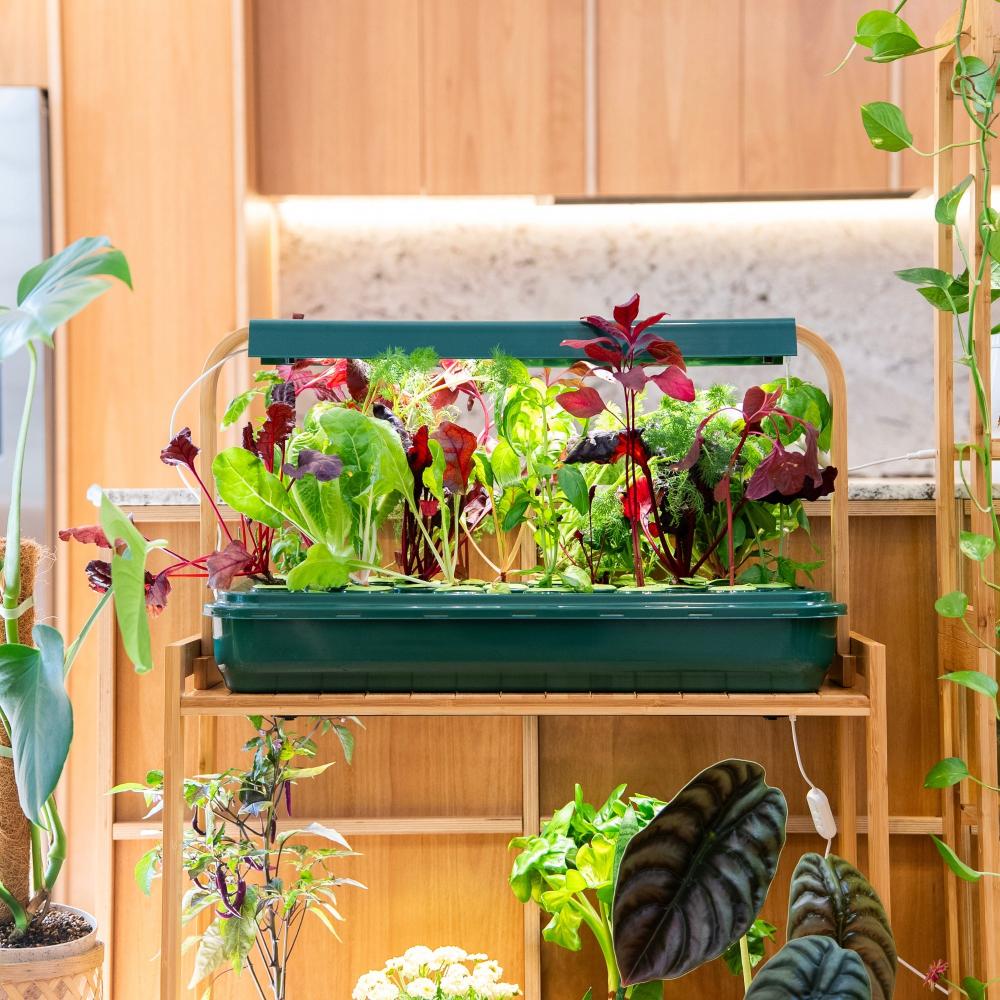
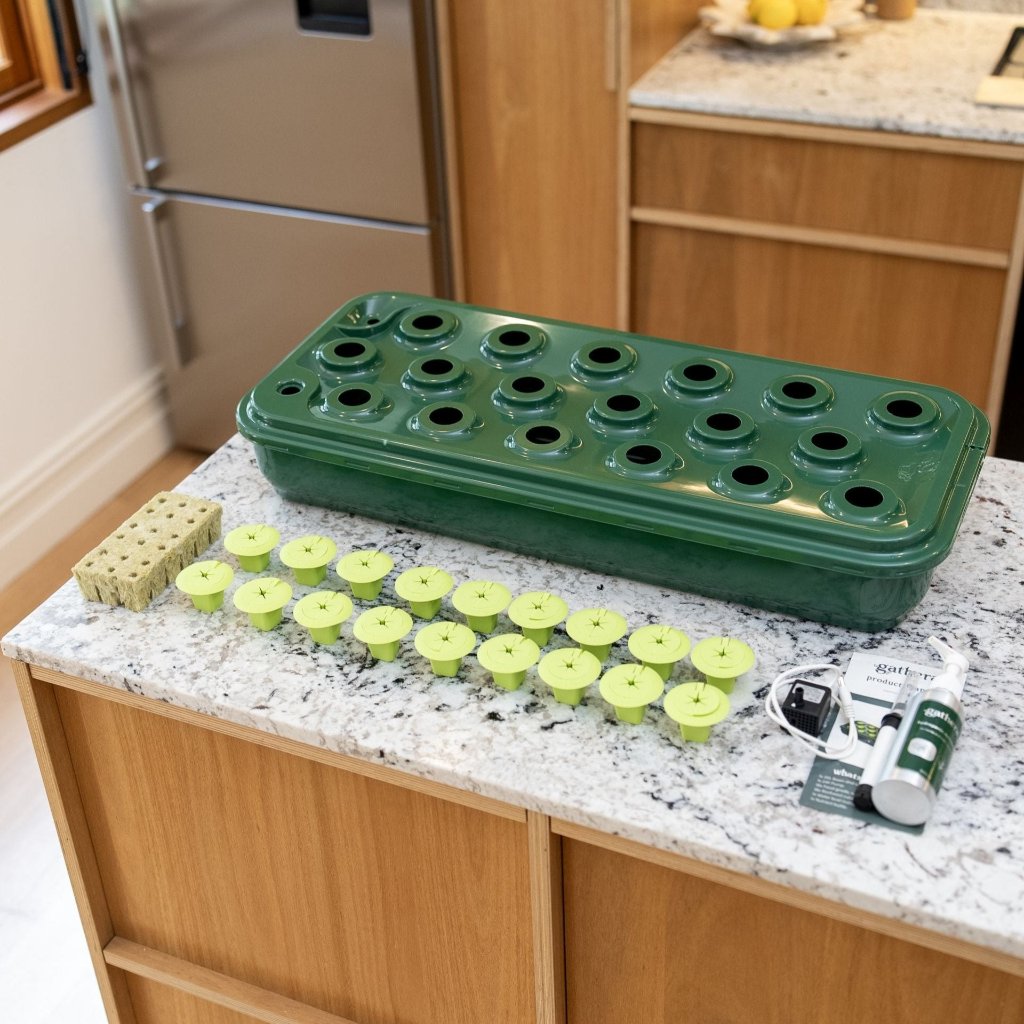
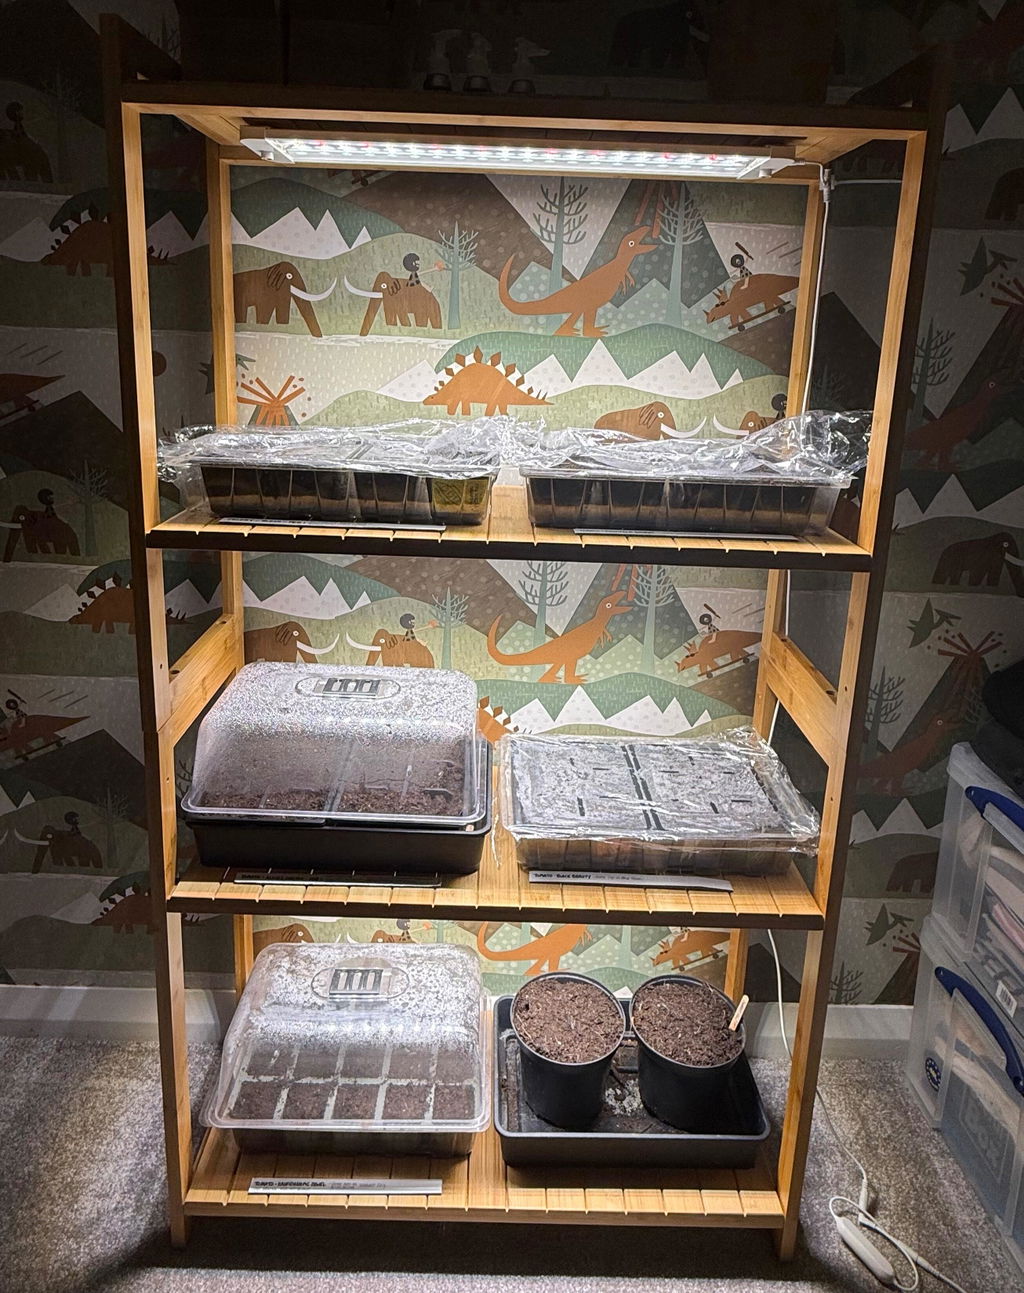
Brilliantly speedy delivery, easy to assemble and so far, I’ve seen a marked increase in the seedlings growth which had just been sat in front of a window during the day. Yet to try out the hydroponics, but the apparatus is lovely looking. Very impressed with it all :)
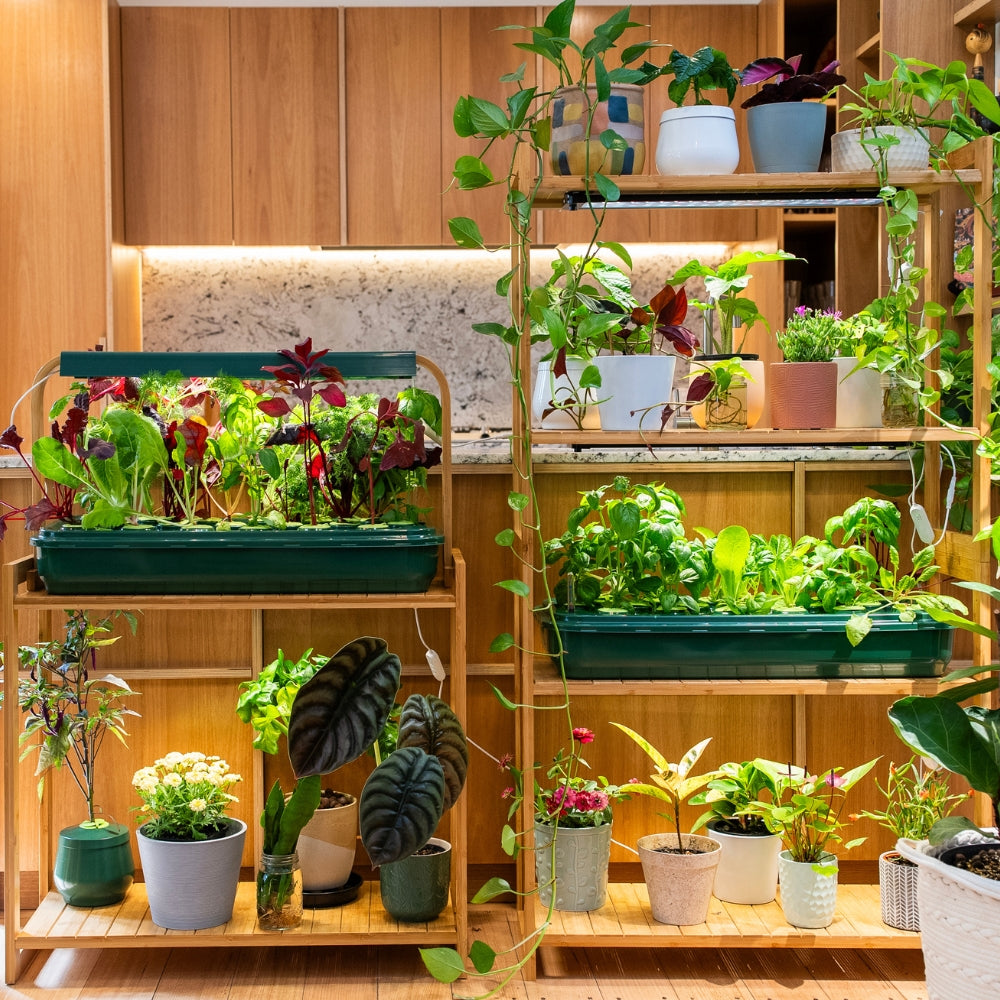
I bought a Sun Patch for my Sun Shelf - which I use to grow my sensitive orchids and other tropical plants in a more protected environment. It is very easy to set up and use and my plants love it. Very good idea, my husband keeps bugging me to buy more of them.

Great to hear Astrid, we are so happy that you love our product
Really impressed with the product so far. Great quality and hopefully I’ll start seeing results with my plant collection. I chose this product over similar others due to its design and adjustability. As it’s my first grow light I really took a gamble, but so far I’m very happy.
The only thing I was disappointed with was the small screwdriver that came with the product to adjust the ‘yaw’ (side to side rotation) instantly broke. The plastic handle came loose from the metal screwdriver pole making it useless and unable to tighten the screw.
Also the wall plugs were impossible to push into the 6mm hole without bending them, once the screws were in, they felt like they had no grip and were going to rip out with the weight of the light. Thankfully I used my own 6mm wall plugs which fit perfectly and feel strong.
Hi there! We're so glad to hear that you're impressed with the product and are seeing great quality results with your plant collection. We apologize for the disappointment with the small screwdriver and wall plugs included in the package. We don't put much cost into the screwdriver as we assume most people already have one, but we will definitely take your feedback into consideration for future improvements. As for the wall plugs, this is the first time we've heard of any issues, but we appreciate your feedback and will look into providing better wall plugs in our next batch. Thanks again for your support and happy growing!
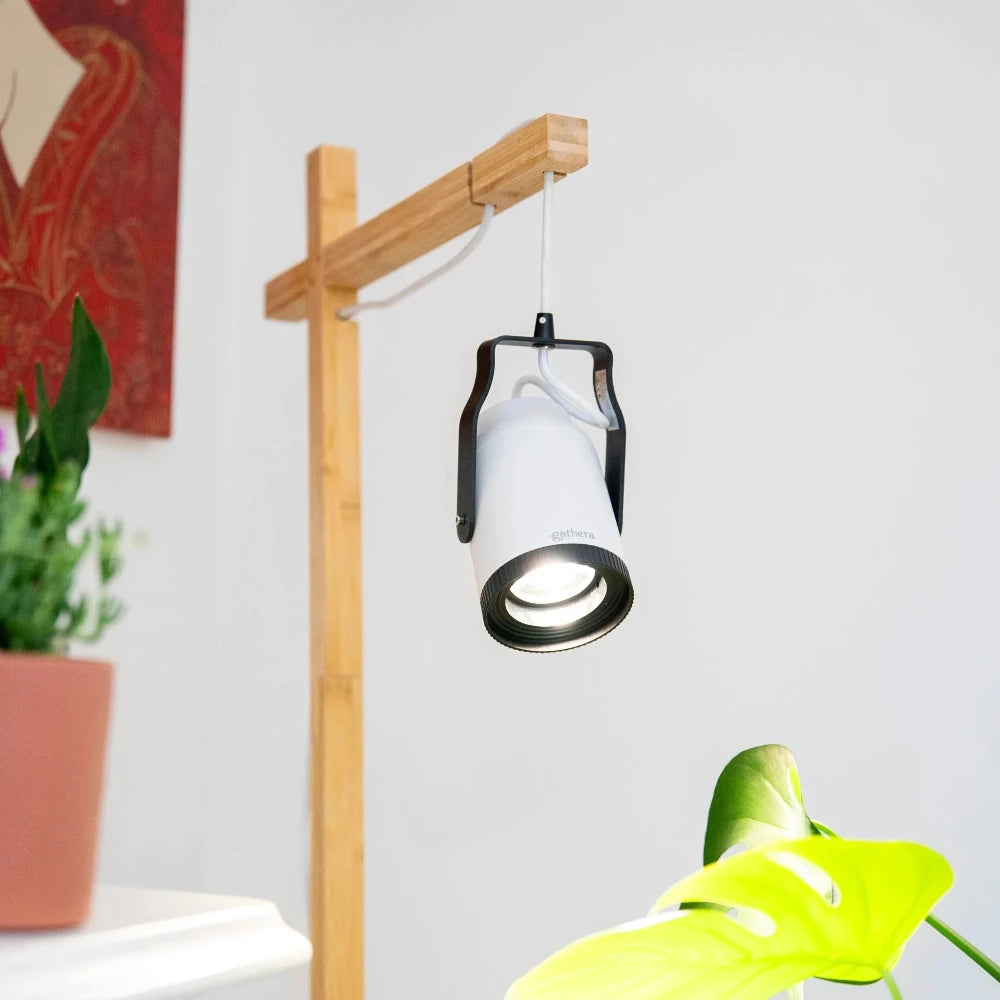
It arrived today perfect condition 👌 and immediately installed it!love the style and how easy it is to use, our sitting room is still on renovation but this one need is my top priority before my plants arrive 😅thankyou gathera amazing growlight⭐️⭐️⭐️⭐️⭐️
Thanks so much for the Review Bernadeth! We are so happy that you like the Sun Bulb.